
I believe the same principals can be used to make handkerchiefs.
First I cut out a square of 60cm/24inches give or take a few millimeters.
 |
| white line shows where I've sewn. |
Then about a centimetre in from the edge I did a running stitch like a boarder running around.
 |
| About a thumbswidth |
Before you ask my 'technique' comes from reading how to do it on a machine and trying to translate it into hand sewing. As every internet tutorial assumed you wanted to use a machine.
Trim (as you go) up to within about 5mm of the running stitch you did...
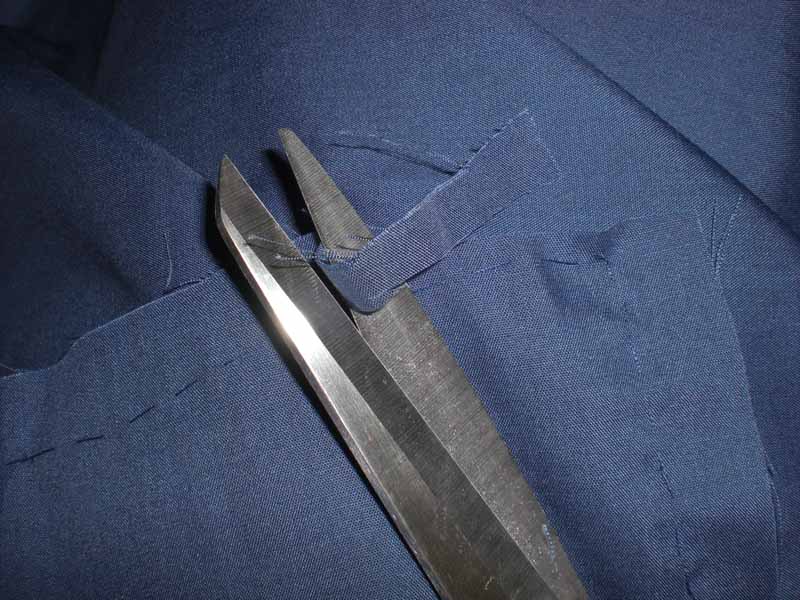
It's best to do it in sections to stop your newly cut edge fraying so close to the stay stitching.
Tip: Start a little way from the corner...as otherwise it might be a bit tricky when you complete the circuit to fold over the corner.
 |
| First 'roll' of edge fabric pinned |
Then you just 'roll' a couple of centimeters/inches of the side length over about one and a half times as tight as possible. I then pin that first bit down before I start.


I cast on my thread and now you have two options running stitch over the top of the 'rolled edge' or you can slipstitch it. I prefer running stitch as its quick.

Tip when doing running itch try to get as many as you can on one needle...makes it quicker.

Continue all the way round your square and there you have your headscarf ready for tying.

Great for those vintage hairdos or when your setting your hair in preparation.
No comments:
Post a Comment